WebVirtCloud Installation Guide

Repository: https://github.com/oneclickvirt/webvirtcloud
The original official deleted the project is no longer maintained, here can only be deployed with my personal fixes and changes to the code.
Rendering display


1. Controller Installation
System Requirements
Minimum Requirements:
- CPU: 1 core
- Memory: 1 GB RAM
- Storage: 10 GB free space
- System: Debian11+, Ubuntu20.04+, Centos8+, AlmaLinux8+, RockyLinux8+
Default Login Information
- Username:
[email protected] - Password:
admin
Panel Access
- User Panel:
https://192-168-0-114.nip.io - Admin Backend:
https://192-168-0-114.nip.io/admin
Note: Replace
192.168.0.114with your public IP to get the actual accessible address.
Installation Command
curl -slk https://raw.githubusercontent.com/oneclickvirt/webvirtcloud/main/scripts/install_webvirt_cloud.sh -o install_webvirt_cloud.sh \
&& chmod +x install_webvirt_cloud.sh \
&& bash install_webvirt_cloud.shTIP
The execution process may be stuck in the clone repository has not been moving, at this time, press ctrl + c to exit the implementation, re-execution of the installation script on the line, the Department of Docker installation is stuck in the stage of the build project.
2. Compute Node Installation
Important: Hypervisor and Controller cannot be installed on the same virtual machine, otherwise network conflicts will occur.
System Requirements
Recommended Configuration:
- CPU: 2 cores
- Memory: 4 GB RAM
- Storage: 40 GB free space
- System: AlmaLinux8+, RockyLinux8+
Additional Notes:
- Higher configurations are recommended for actual use; the test environment is only sufficient for running 4 minimal virtual machines.
- Servers with KVM nested virtualization support are recommended. If
VM-x/AMD-V/Hyper-Vis not enabled, it will automatically switch to QEMU using TCG emulation to set up virtual machines, though performance will be reduced.- The installation skips environment checks and uses binary files directly, so no dependencies need to be installed.
Environment Check
Check if the server supports KVM nested virtualization:
curl -L https://raw.githubusercontent.com/oneclickvirt/ecs/master/goecs.sh -o goecs.sh && chmod +x goecs.sh && ./goecs.sh install && goecsSelect hardware individual test
Compute Node Installation Steps
Download the installation script:
bashcurl -slk https://raw.githubusercontent.com/oneclickvirt/webvirtcloud/main/scripts/install_hypervisor.sh -o install_hypervisor.sh \ && chmod +x install_hypervisor.shExecute installation (replace with your Controller IP):
bashbash install_hypervisor.sh x.x.x.xReplace
x.x.x.xwith the actual IP address of your Controller.Node Management in Panel
After execution, there will be prompts for information needed in the Controller panel.
In the panel, the Hostname to be entered is the current compute node's IPv4 address, and you need to enter the Token to identify the node.
NetworkManager Version Issue
During installation, you may encounter the following error:
Connection 'eth0' (bed050e9-ff49-4665-8112-24ddf2a1cd3c) successfully deleted.
Warning: nmcli (1.48.10) and NetworkManager (1.42.2) versions don't match. Restarting NetworkManager is advised.
Error: Failed to add 'br-ext' connection: connection.autoconnect-ports: unknown propertySolution: Restart the server and re-execute the installation command.
Installation Time Note
- The entire process takes approximately 10-25 minutes.
- Most of the time is spent downloading
finnix-125.isoto/var/lib/libvirt/isos/finnix-125.iso. - This part cannot be accelerated, so it's recommended to use tmux or screen to prevent interruption.
Adding Compute Node to Control Panel
After installation, a Token will be generated for adding the compute node in the control panel (Admin panel):
Path: Admin Panel > Computers > Add Computer
HostNameshould be filled with the compute node's public IPv4 addressTokenshould be filled with the token key obtained on the compute node
3. Public IPv4 Port Mapping
3.1 Automatic Mapping
Automatic mapping features:
- Automatic Monitoring: Real-time monitoring of virtual machine status changes, automatically applying or cleaning up port mapping rules
- Intelligent Port Allocation: Automatically calculating and allocating non-conflicting ports based on VM IP addresses
- Rule Persistence: Using firewall-cmd to ensure port mapping rules remain effective after host restart
- Mapping Records: Automatically maintaining mapping information records for easy viewing and management
- Conflict Prevention: Intelligently detecting and avoiding port conflicts, ensuring each VM has unique port mappings
Installation Method
Download the script to a temporary directory:
bashcurl -sSL https://raw.githubusercontent.com/oneclickvirt/webvirtcloud/refs/heads/main/extra_scripts/vm_port_mapping_daemon.sh -o /tmp/vm_port_mapping_setup.shAdd execution permission:
bashchmod +x /tmp/vm_port_mapping_setup.shRun the installer:
bash/tmp/vm_port_mapping_setup.sh
The script will automatically complete the following operations:
- Copy itself to the system directory
/usr/local/sbin/vm_port_mapping_daemon.sh - Create a systemd service unit file
- Enable and start the service
Port Mapping Rules
The daemon will assign the following ports for each virtual machine:
SSH Port:
- Calculation formula:
(Last segment of IP) × 100 + 22 + 10000 - Example: For IP address 192.168.33.114, the mapped SSH port is 114×100+22+10000 = 21422
- Calculation formula:
Extra Ports:
- 10 additional ports are allocated for each VM
- Starting port: 20000 + (Last segment of IP) × 100
- Ending port: Starting port + 9
- Example: For IP address 192.168.33.114, extra port range is 20000+(114×100) to 20000+(114×100)+9
If the calculated port is already occupied, the program will automatically find the next available port to ensure no conflicts occur.
Mapping File
All port mapping information is saved in the /etc/vm_port_mapping/mapping.txt file, in the format:
VM name IP address MAC address SSH mapped port Extra ports start Extra ports endThis can be viewed using the following command
cat /etc/vm_port_mapping/mapping.txtFor example:
Virtance-1 192.168.33.114 52:54:00:5f:77:92 21422 31400 31409Service Management
Check service status:
bashsystemctl status vm-port-mappingStart service:
bashsystemctl start vm-port-mappingStop service:
bashsystemctl stop vm-port-mappingDisable auto-start:
bashsystemctl disable vm-port-mappingView logs:
bashjournalctl -u vm-port-mapping # or cat /var/log/vm_port_mapping.logManually trigger rule update:
bashsystemctl restart vm-port-mapping
Common Issues
Port mapping not working
Check the following:
- Confirm the service is running:
systemctl status vm-port-mapping - Check the log file:
cat /var/log/vm_port_mapping.log - Ensure the firewall service is normal:
systemctl status firewalld - Verify VM network interface configuration:
virsh domiflist VM-name
Manually adding mapping rules
Usually, manual addition of rules is not needed, but if necessary:
Stop the service:
bashsystemctl stop vm-port-mappingEdit the mapping file:
bashnano /etc/vm_port_mapping/mapping.txtStart the service:
bashsystemctl start vm-port-mapping
Cleaning all rules
systemctl stop vm-port-mapping
grep -f /etc/vm_port_mapping/mapping.txt | while read -r vm_name ip_address mac ssh_port port_start port_end; do
  firewall-cmd --permanent --remove-forward-port="port=$ssh_port:proto=tcp:toport=22:toaddr=$ip_address"
  for ((port=port_start; port<=port_end; port++)); do
    firewall-cmd --permanent --remove-forward-port="port=$port:proto=tcp:toport=$port:toaddr=$ip_address"
  done
done
firewall-cmd --reloadSecurity Recommendations
- Regularly check mapping files and logs to ensure there are no unauthorized mappings
- Do not manually modify files in the
/etc/vm_port_mapping/directory unless you fully understand the impact - Make sure the
firewalldservice is running properly so that rules can be correctly persisted
Uninstallation Method
To uninstall this service:
systemctl stop vm-port-mapping
systemctl disable vm-port-mapping
rm -f /etc/systemd/system/vm-port-mapping.service
rm -f /usr/local/sbin/vm_port_mapping_daemon.sh
rm -rf /etc/vm_port_mapping
systemctl daemon-reload3.2 Manual Mapping
Assume your virtual machine is shown in the user control panel as
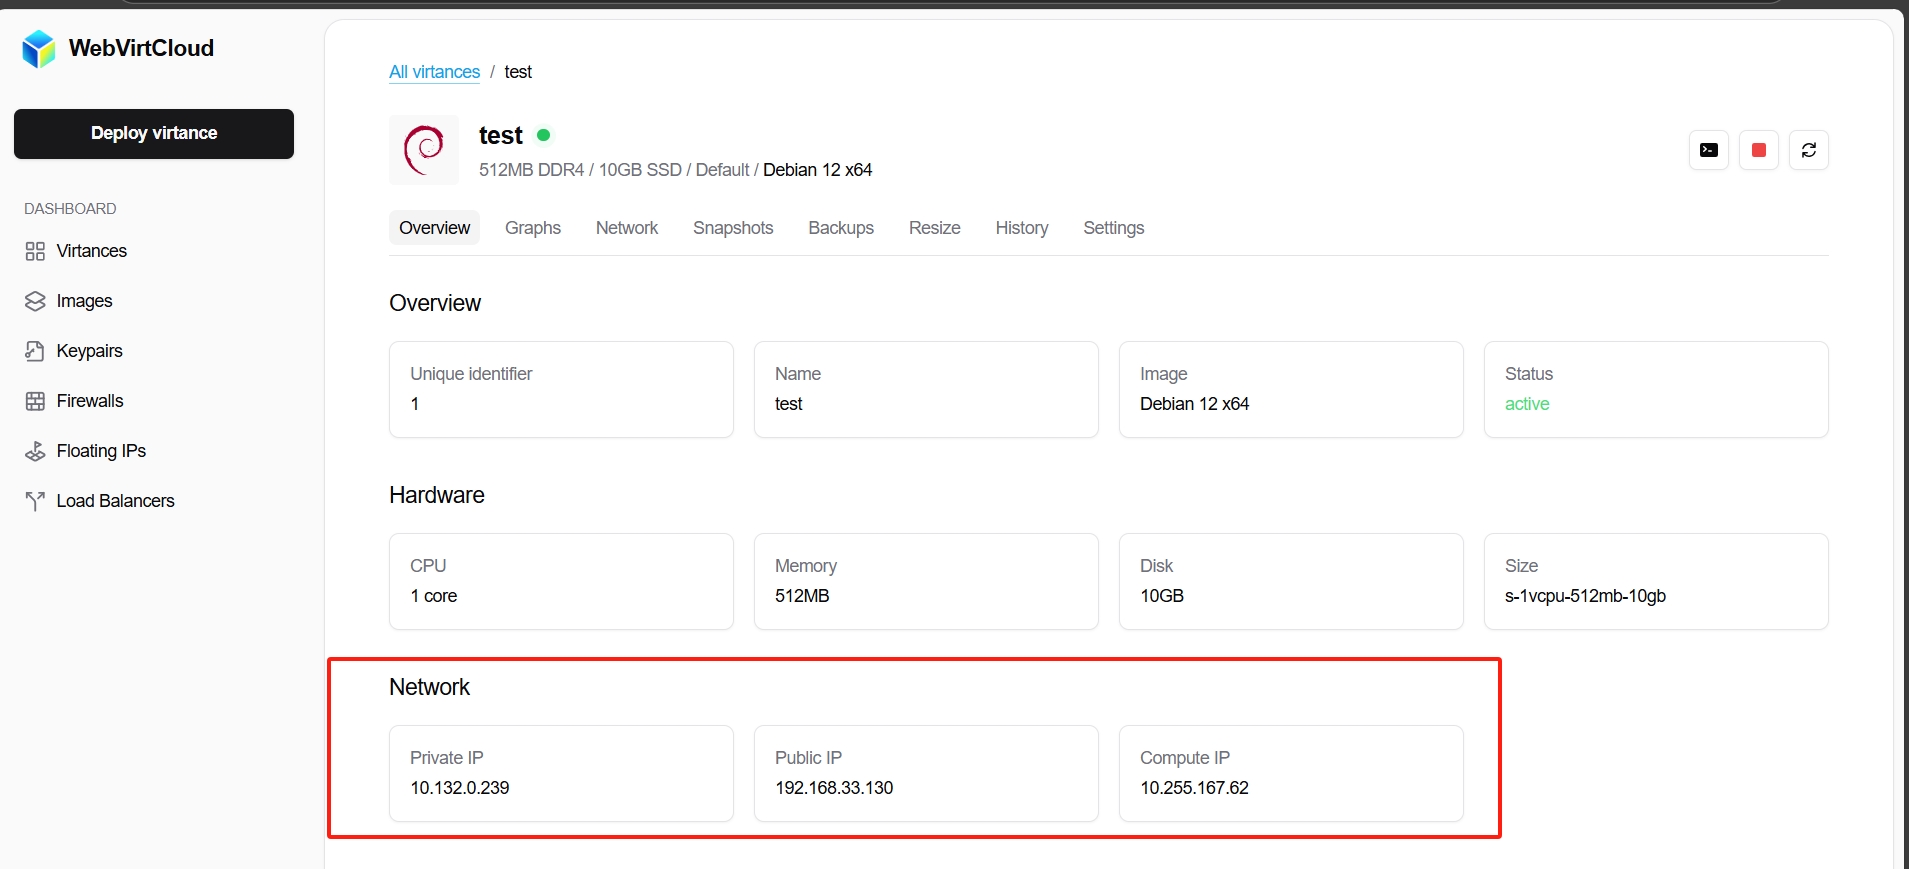
and the host machine command ip a | head -n 15 result is
1: lo: <LOOPBACK,UP,LOWER_UP> mtu 65536 qdisc noqueue state UNKNOWN group default qlen 1000
    link/loopback 00:00:00:00:00:00 brd 00:00:00:00:00:00
    inet 127.0.0.1/8 scope host lo
       valid_lft forever preferred_lft forever
    inet6 ::1/128 scope host
       valid_lft forever preferred_lft forever
2: ens3: <BROADCAST,MULTICAST,UP,LOWER_UP> mtu 1500 qdisc fq_codel state UP group default qlen 1000
    link/ether 52:54:00:f1:d6:8b brd ff:ff:ff:ff:ff:ff
    altname enp0s3
    inet your_public_IPv4_address/corresponding_subnet_mask scope global noprefixroute ens3
       valid_lft forever preferred_lft forever
    inet6 2a0b:4140:4c60::2/48 scope global noprefixroute
       valid_lft forever preferred_lft forever
    inet6 fe80::5054:ff:fef1:d68b/64 scope link noprefixroute
valid_lft forever preferred_lft foreverIt's evident that the public IPv4 address is bound to the ens3 interface, so we'll use ens3 in the following commands.
To map the current VM's port 22 to the public IPv4's port 3322, use:
# Add DNAT rule: Forward public 3322 traffic to host local 192.168.33.130:22
iptables -t nat -A PREROUTING -i ens3 -p tcp --dport 3322 -j DNAT --to-destination 192.168.33.130:22
# Add POSTROUTING: Local NAT masquerading for normal return connections
iptables -t nat -A POSTROUTING -p tcp -d 192.168.33.130 --dport 22 -j MASQUERADE
# Need to allow INPUT port 3322 through (firewalld is enabled by default)
iptables -I INPUT -p tcp --dport 3322 -j ACCEPTThis way, the internal virtual machine is mapped out and can be remotely logged in directly.
4. Troubleshooting
Compute Node Addition Error Troubleshooting
Execute on the Controller:
telnet <node ip> 8884Execute on the compute node:
systemctl status webvirtcompute
systemctl status libvirtd
systemctl status prometheus
systemctl status prometheus-libvirt-exporterIf none of the above reveals the problem, then you need to execute on the Controller:
docker exec -it webvirtcloud-backend /bin/sh
vi webvirtcloud/settings/production.pyChange DEBUG=False to DEBUG=True, save the file, then execute in the container:
UV_PROJECT_ENVIRONMENT=/usr/local uv sync --devThen exit the container and execute:
docker restart webvirtcloud-backend
sleep 3
docker logs webvirtcloud-backend -fThen trigger the error in the frontend, and you'll see the corresponding error in the real-time loaded logs.
Docker Containers Not Auto-Restarting After Controller Reboot
If Docker containers don't automatically restart after system reboot, execute:
docker start $(docker ps -a -q)5. Drawbacks
System images are hard-coded; you can't use your own custom images, nor export them for use.
This is not the same project as https://github.com/retspen/webvirtcloud, don't confuse them.