Android Virtual Machine
Android System Image Download
Download links for Android system version 9 and earlier:
https://www.fosshub.com/Android-x86.html
https://sourceforge.net/projects/android-x86/files/
Download links for Android system version 10 and later:
https://blissos.org/index.html#download
https://sourceforge.net/projects/blissos-x86/files/Official/
Virtual Machine Setup
Setting up an Android Virtual Machine with version 9 and earlier images
This guide demonstrates using:
https://sourceforge.net/projects/android-x86/files/Release 9.0/android-x86_64-9.0-rc2.iso/download
as an example

Template Configuration
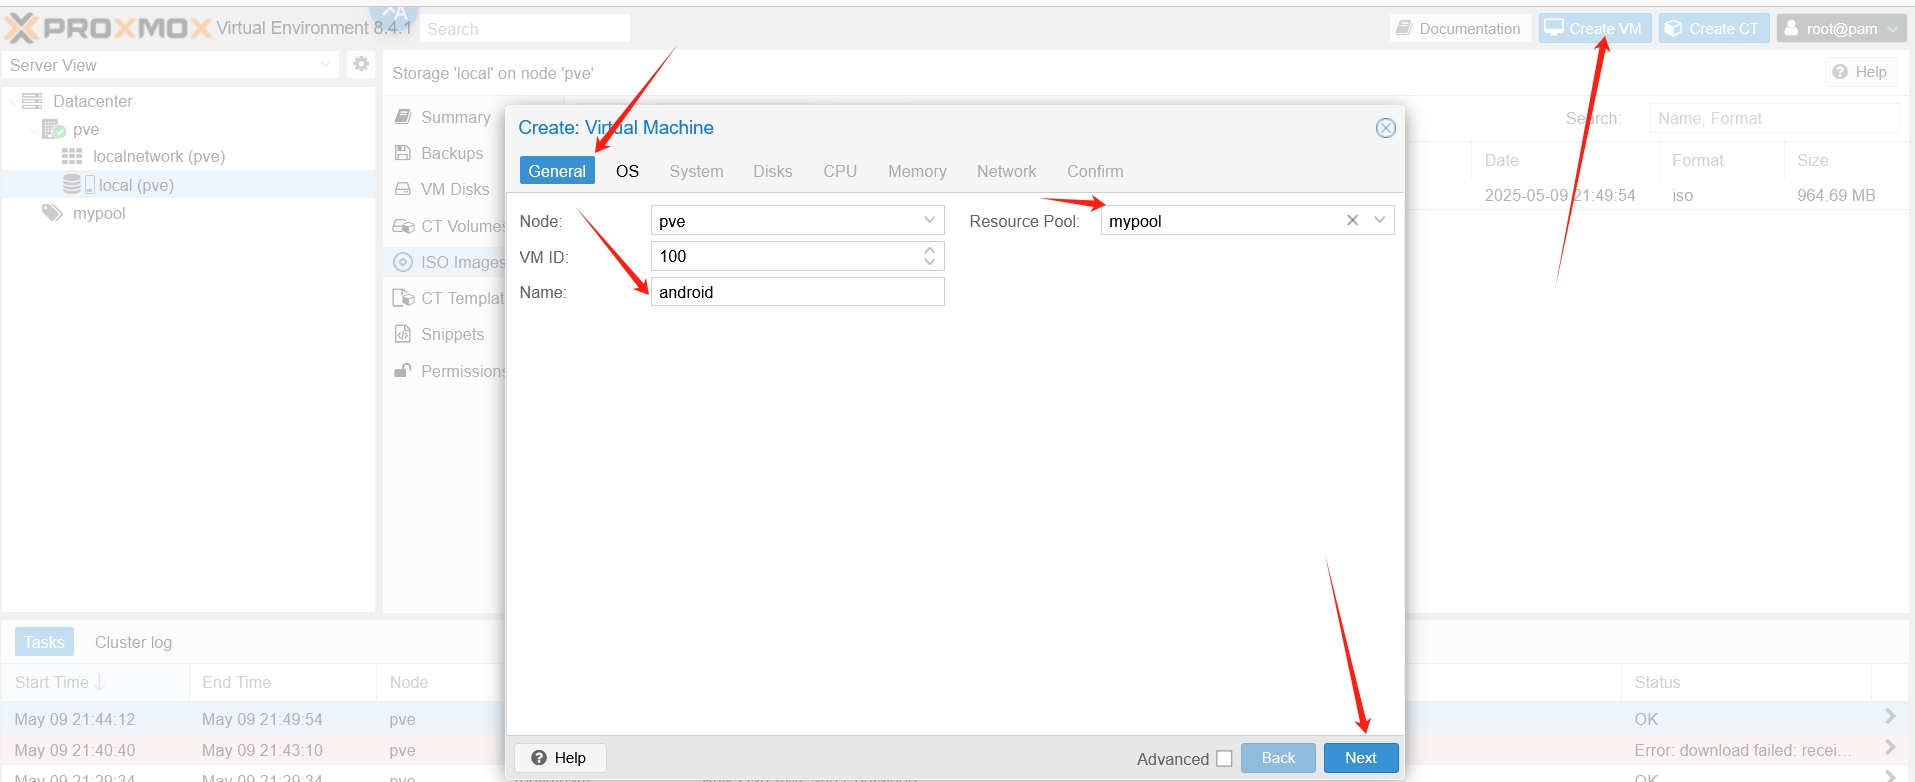
Create a virtual machine with VMID 100 and select the corresponding storage disk
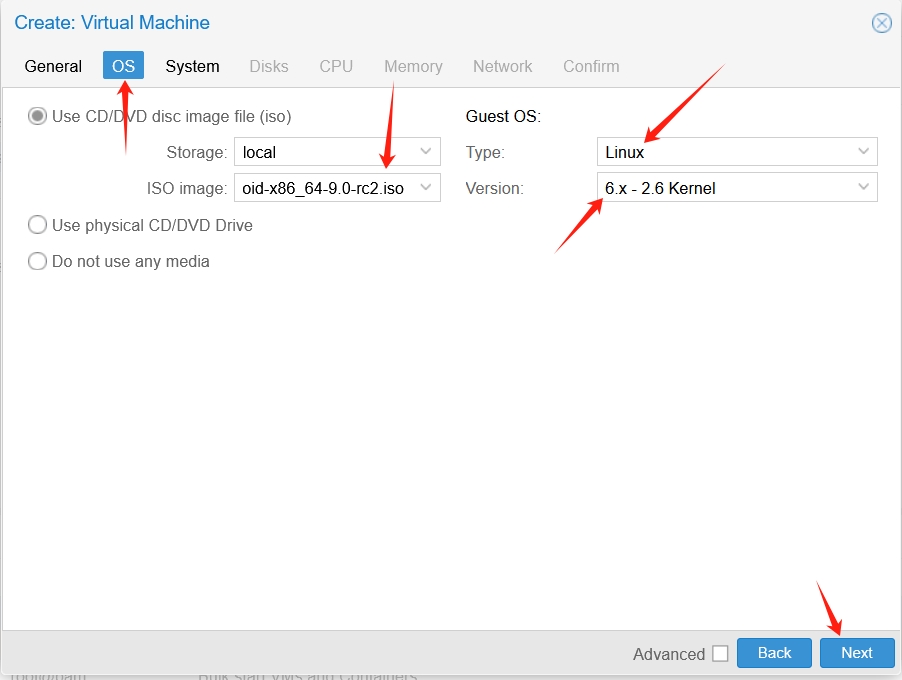
Select the Android image, then choose Linux for Type and choose an option with version 2.6 for Version
Select Vmware compatible for Graphic card, other options are default as shown

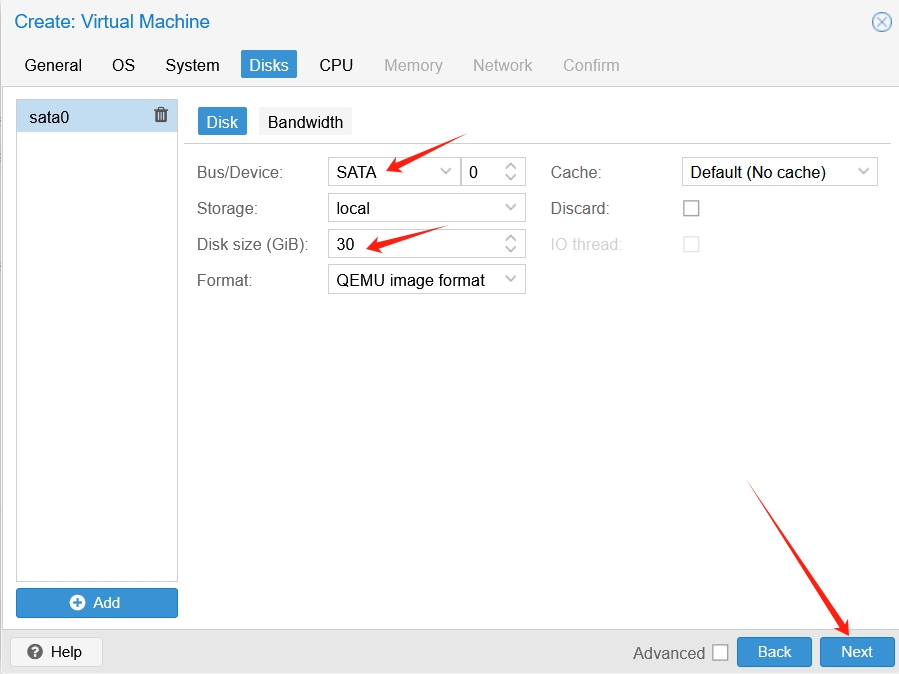
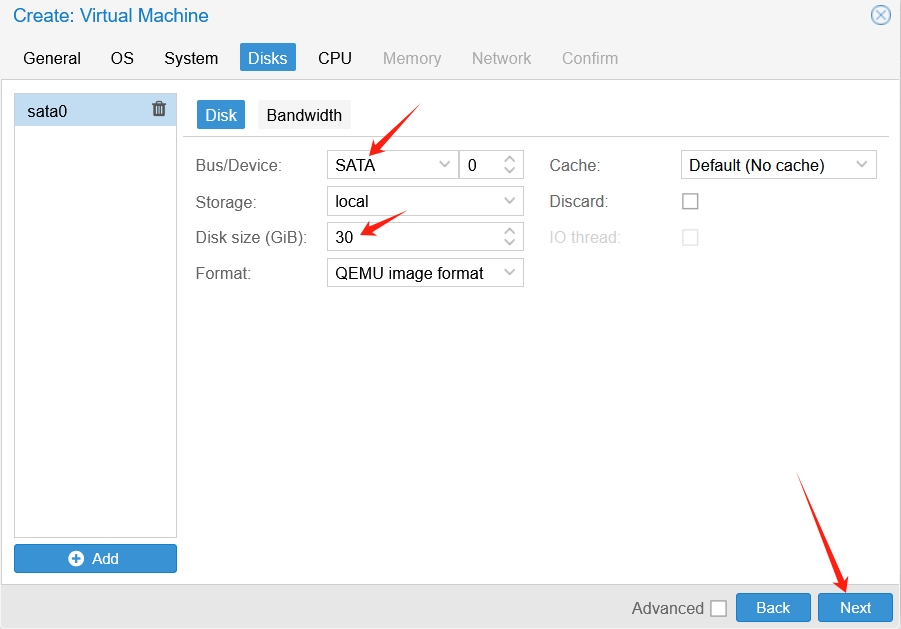
Choose SATA for disk format, allocate at least 30GB of disk space (size can be chosen based on your needs)
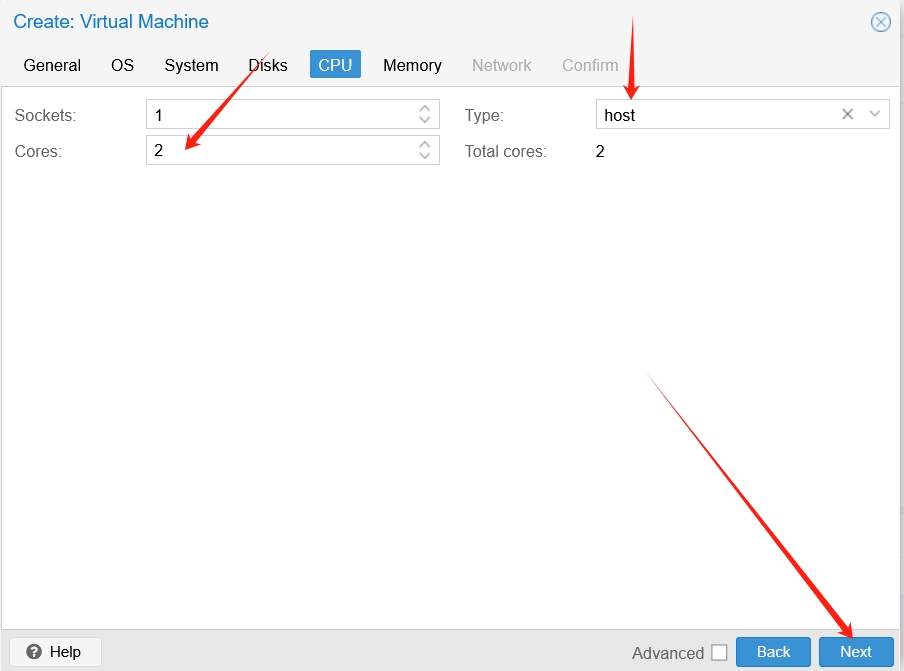
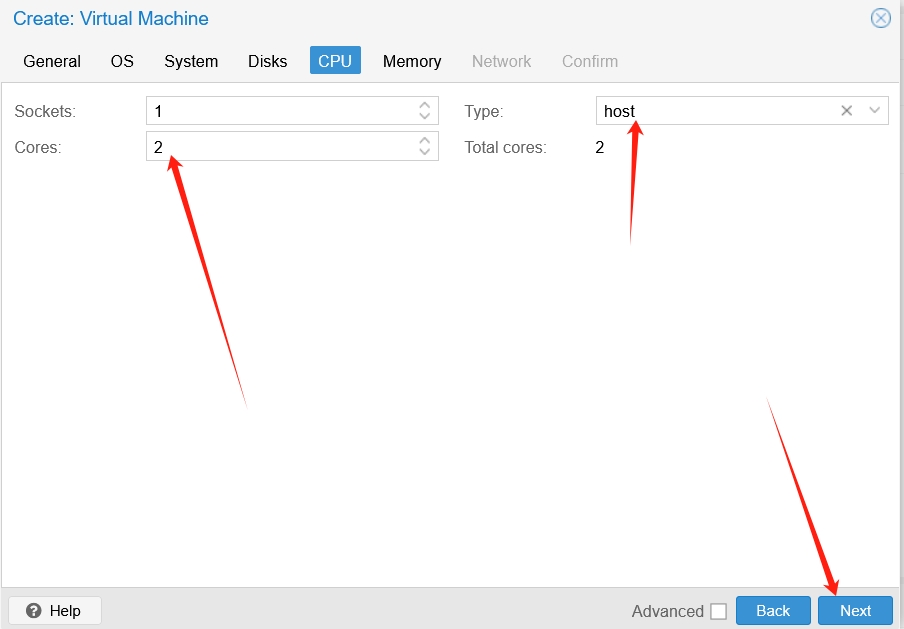
CPU count should be at least 2 cores
If your host machine supports nested virtualization, choose host for CPU type (verified to work)
If your host machine doesn't support nested virtualization, choose qemu64 for CPU type, and after creating the template, go to Options and uncheck KVM hardware virtualization before starting the virtual machine (no guarantee that system initialization will work properly)
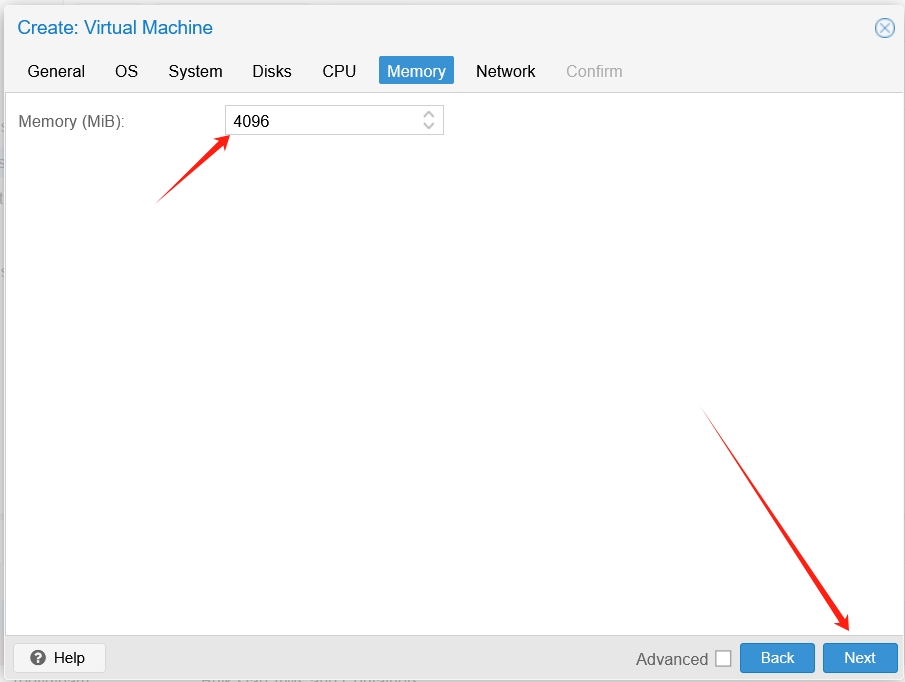
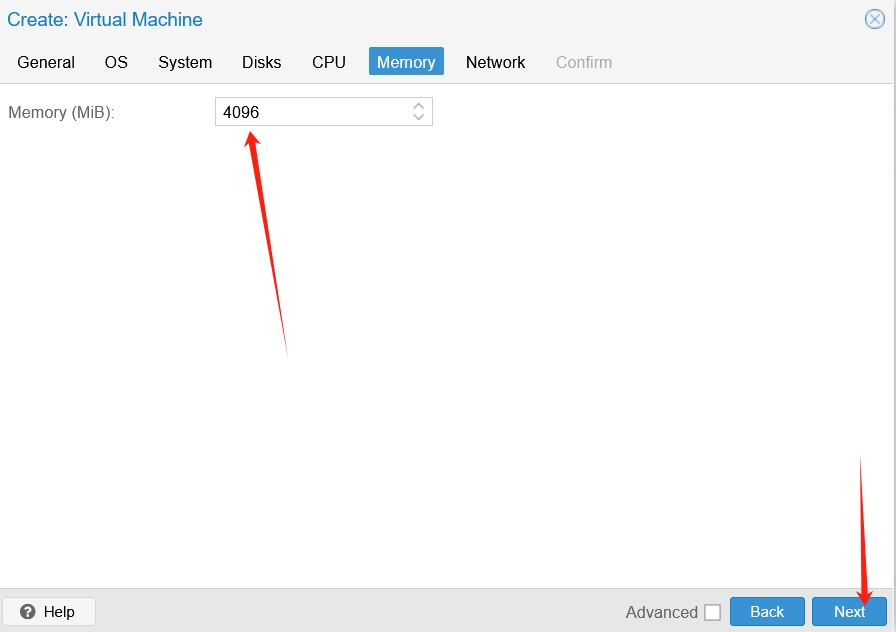
Memory should be at least 4GB, enter at least 4096
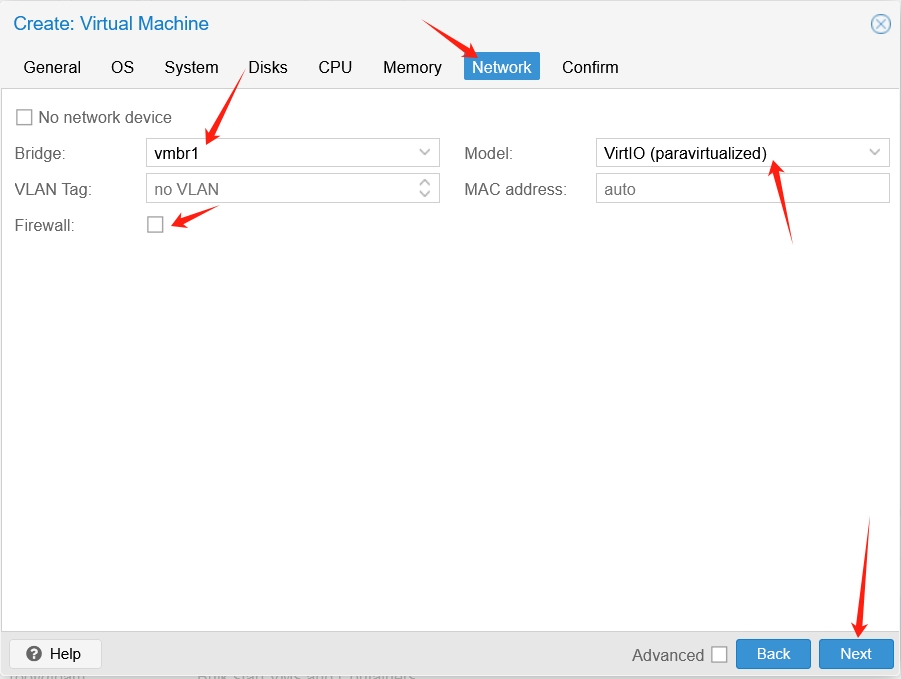
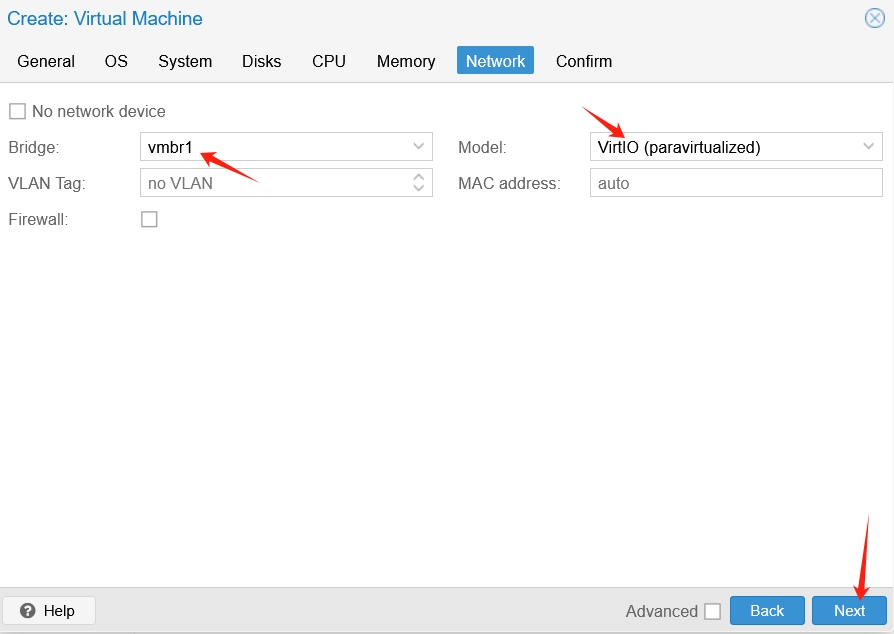
Select vmbr1 for the network bridge, choose VirtIO (paravirtualized) for Model, and uncheck Firewall
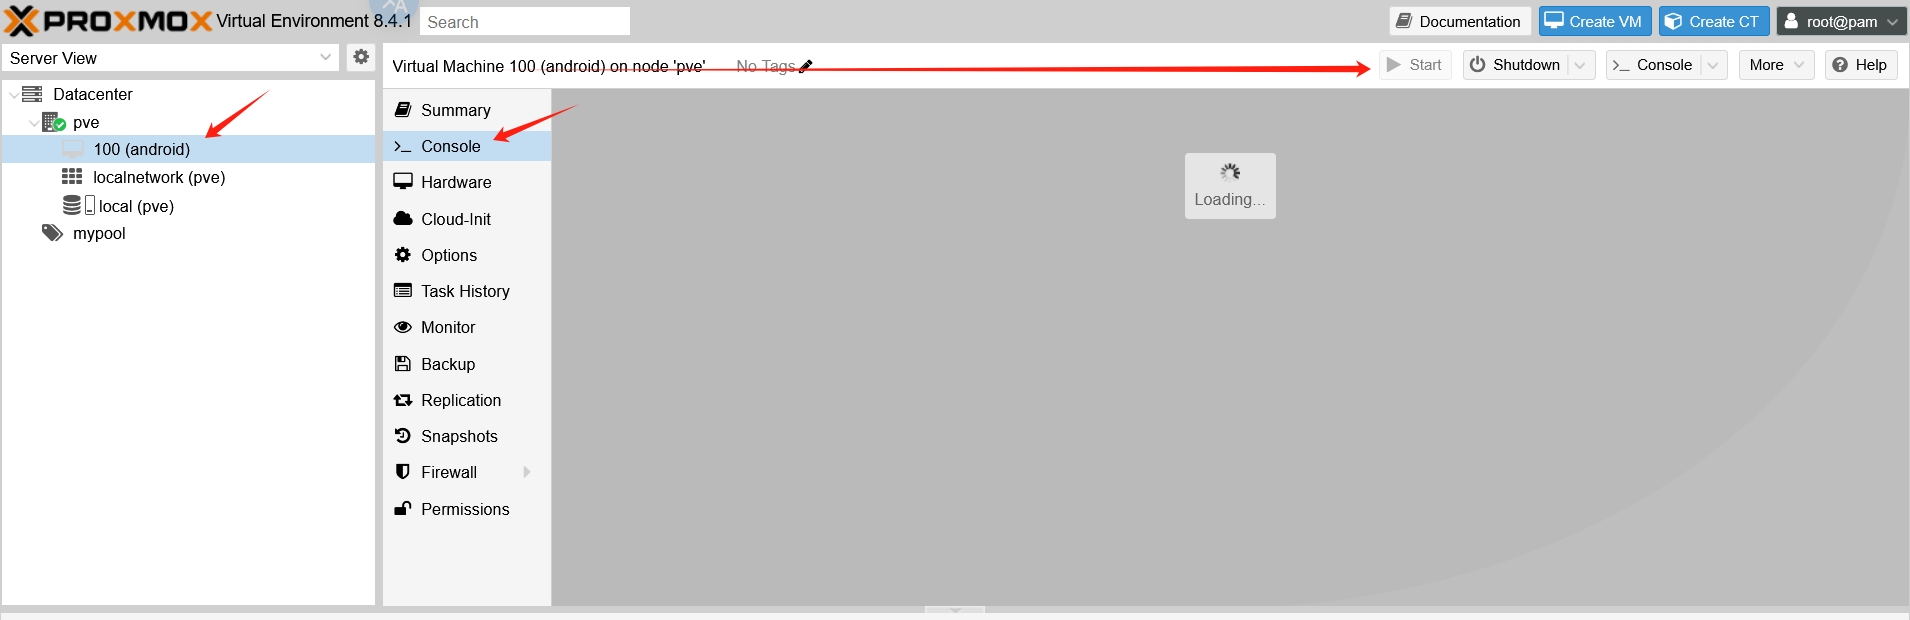
After clicking the continue button, the template is successfully created. You need to manually start it and enter the VNC interface
System Installation
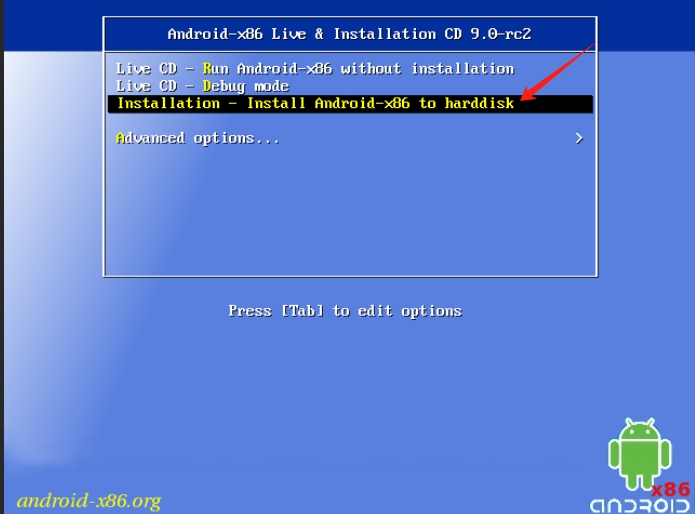
After entering the boot menu, select the option starting with Installation
Then you need to create disk partitions. If you can't select it, press the keyboard button 'c' to select it

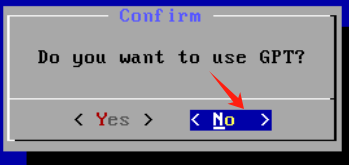
Choose not to use GPT format
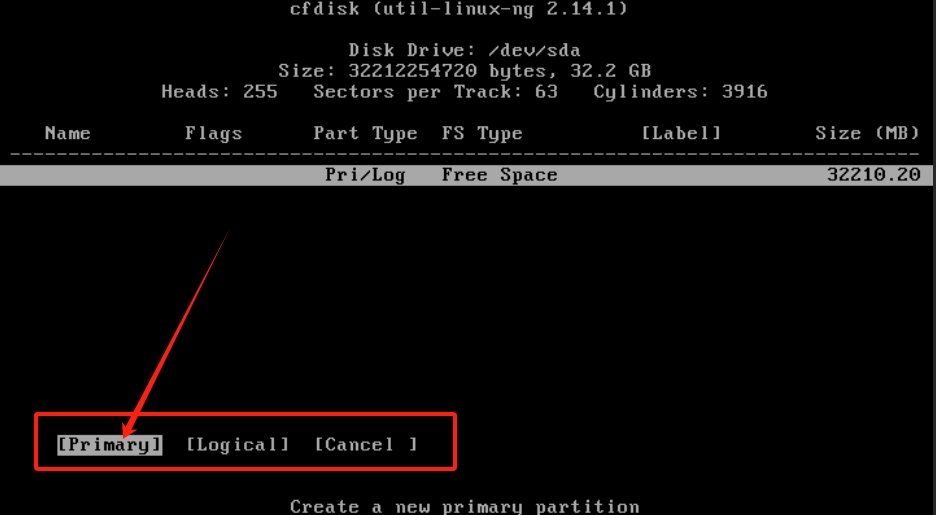
When the empty disk is displayed, select New

Select partition type Primary
Then you'll be prompted to specify the size of the space. Just press Enter to use all available space

Then select Flags, move to Bootable, press Enter until Boot appears under Flags

Then move to Write and press Enter to write changes

You'll be asked to confirm whether to continue. Type yes and press Enter to continue

After a progress bar completes, you'll return to the initial menu. Select Quit to exit the menu, everything is now ready

Then you'll return to the UI interface. Use the previously initialized disk and select the OK button

Use the arrow keys to select ext4 file system type, then select the OK button

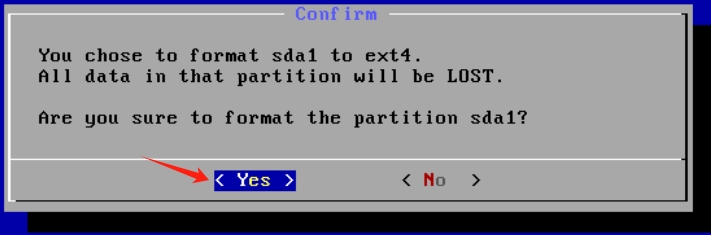
Confirm formatting by selecting the Yes button
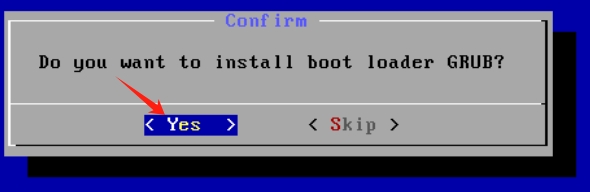
Confirm GRUB boot installation by selecting the OK button
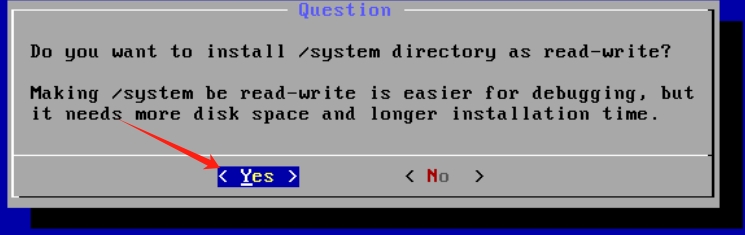
Confirm the file system is readable and writable by selecting the OK button
After a progress bar runs for some time, it will show that installation was successful. Select Reboot and the OK button

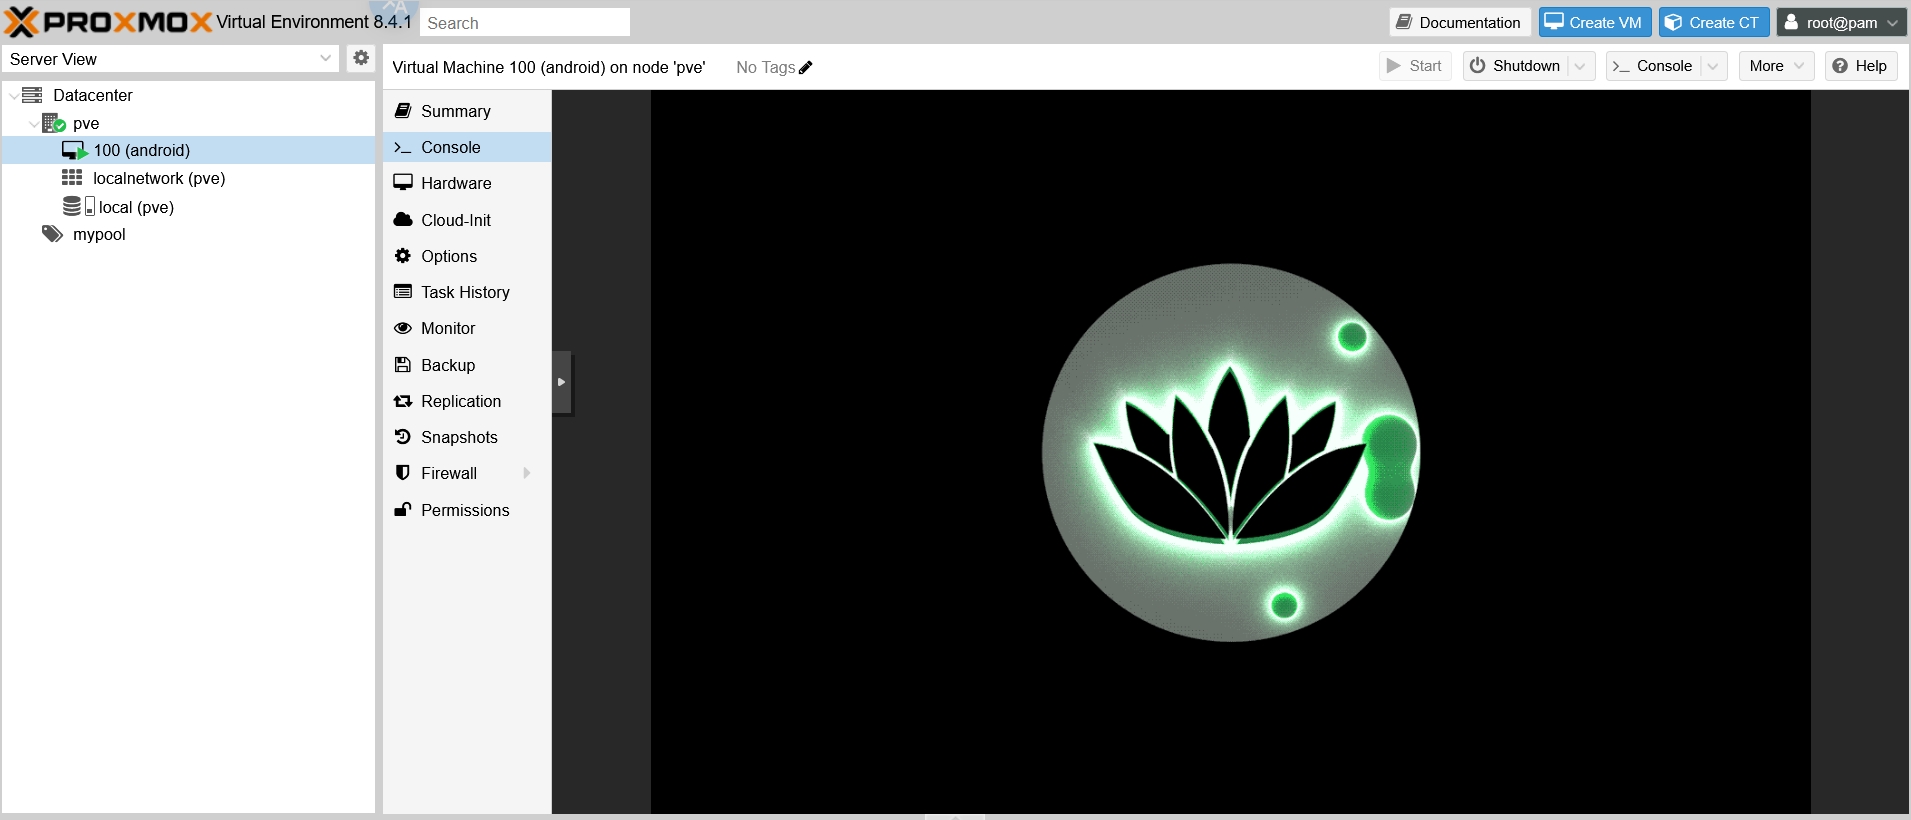
After a while, you'll enter the Android logo screen

Removing the Image
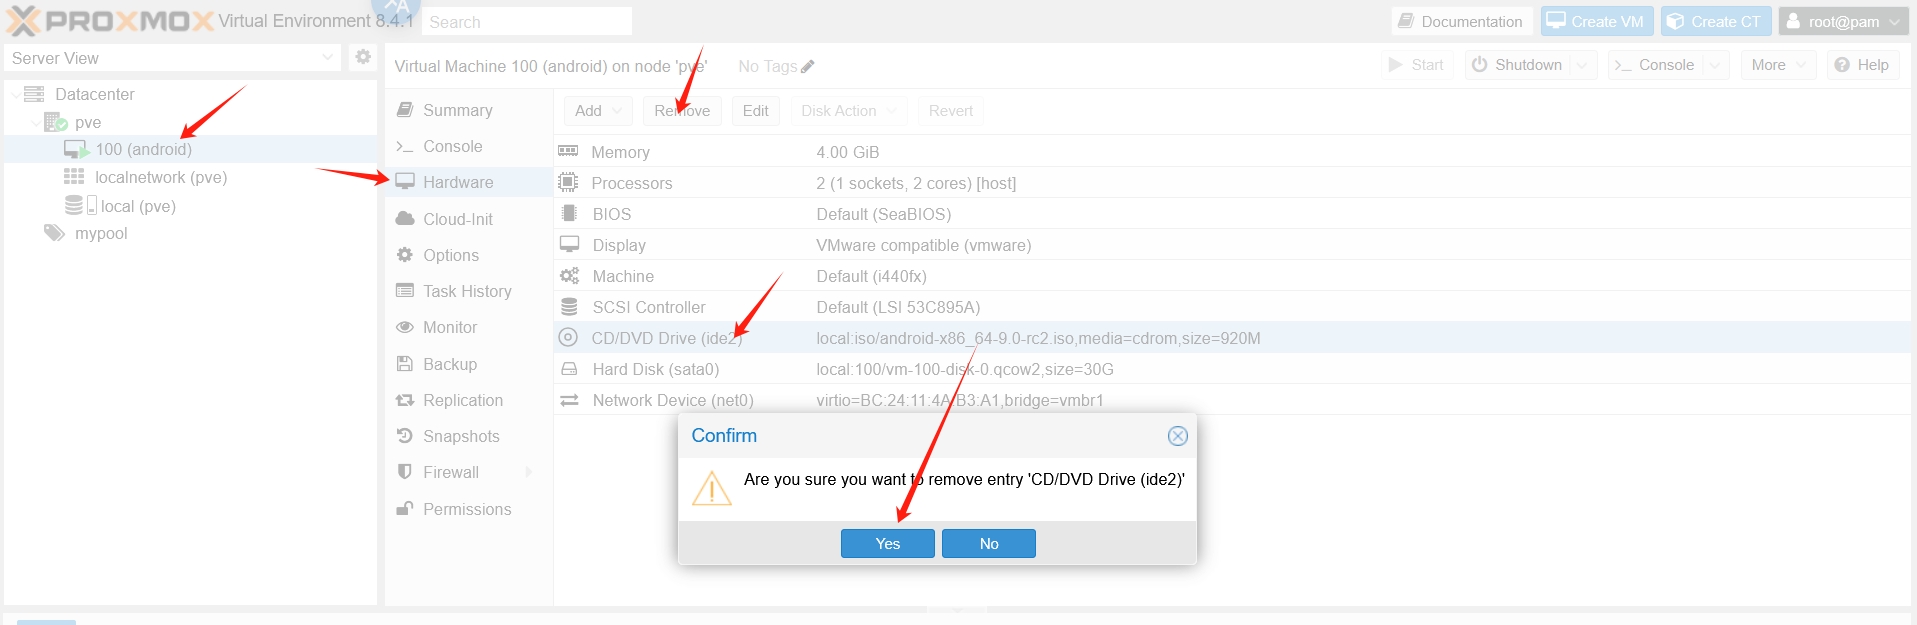
Then there will be a black screen. If it's still black after 3-5 minutes, execute qm stop 100 on the host machine, then start removing the image file.
Remove the installed ISO file by manually clicking on the corresponding CD in the Hardware section of the ProxmoxVE web interface and selecting Remove
Then execute qm start 100 on the host machine again, and you should enter the Android system initialization interface
System Initialization
In the initialization interface, select the language and click the confirm button

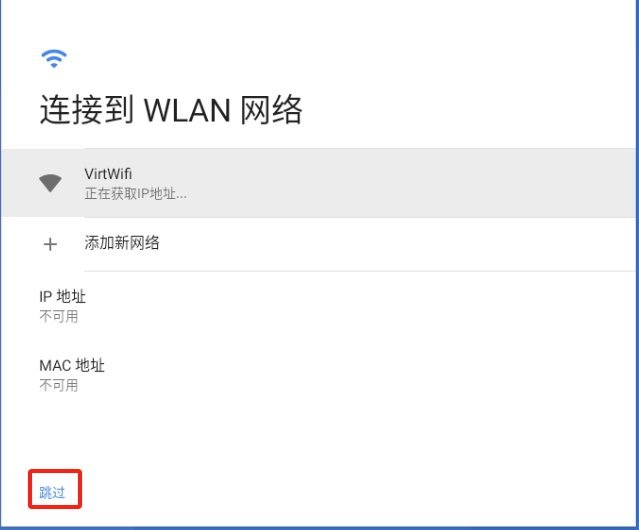
It will try to connect to WiFi. Since our PVE installation uses a completely static network configuration, just skip this and set it up later
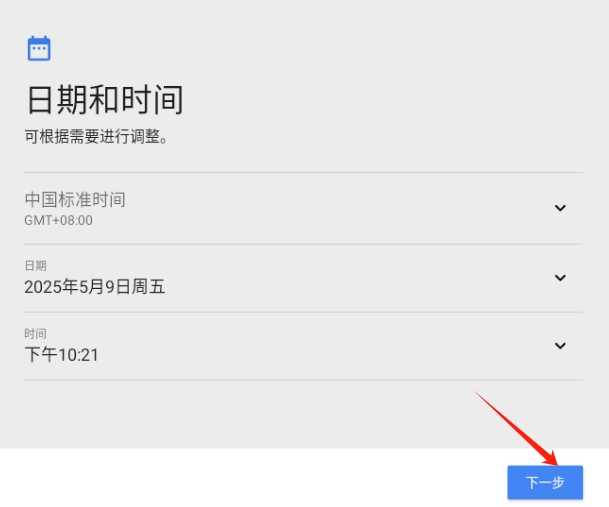
Click the next button to confirm the time settings
Click to cancel screen protection, confirm to skip again

After a period of black screen, the main screen application selection will appear. If this interface doesn't appear after waiting 3-5 minutes, restart the virtual machine as before, and it should display after entering VNC
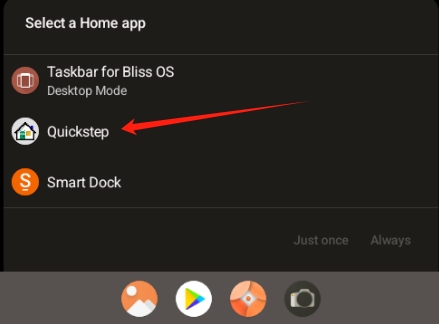
Select Quickstep

Network Settings
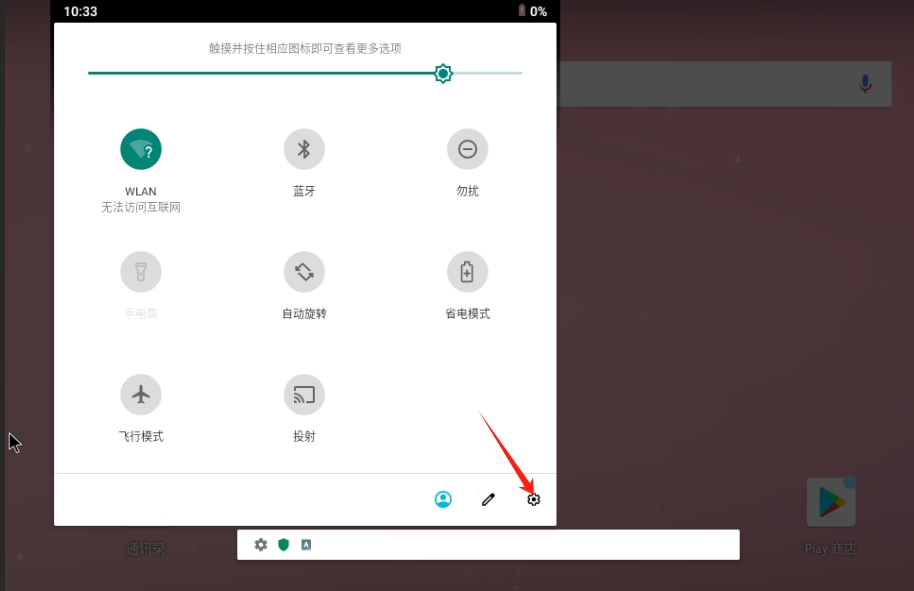
After entering the desktop, you need to set up the network. Click the settings icon in the upper left corner

A dropdown appears, click and hold to pull down

Click the gear button
Enter Network & Internet settings

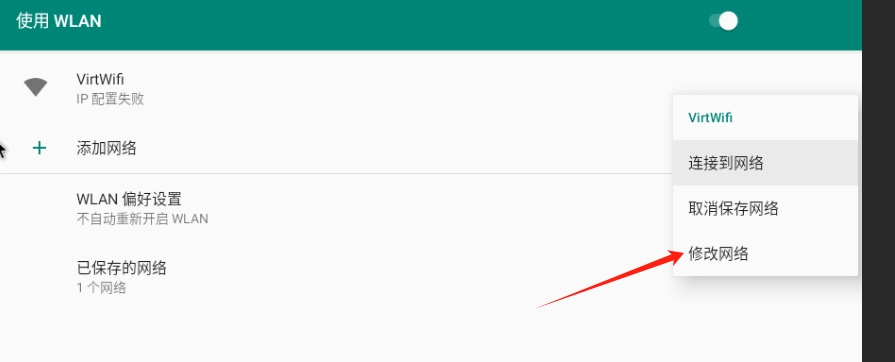
Double-click WIFI with the left mouse button

Modify the detected VirtWIFI. Right-click to bring up the selection box, then click Modify network
Advanced options appear, click to open hidden options
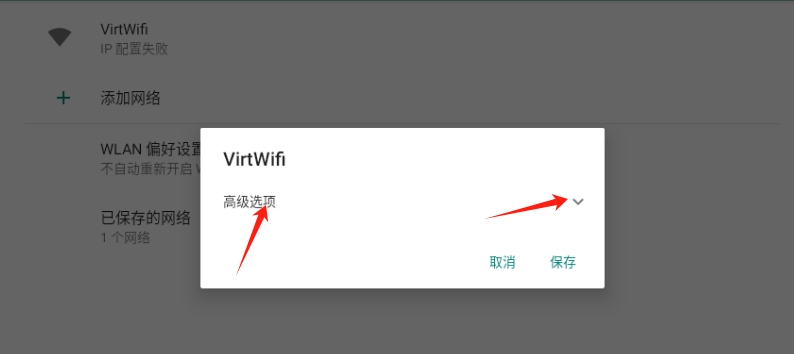
Configure the network settings as shown
IP address 172.16.1.xxx (replace xxx with your desired IP, I used 100 because my vmid is 100 for convenience)
Subnet mask 24
Default gateway 172.16.1.1
DNS 8.8.8.8 or 144.144.144.144
Then click the save button

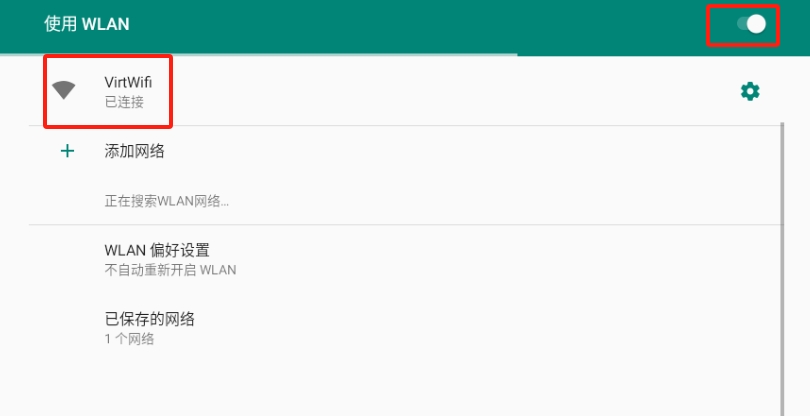
At this point, the settings may still not be applied. Turn off WiFi and then turn it back on, it should then show as connected
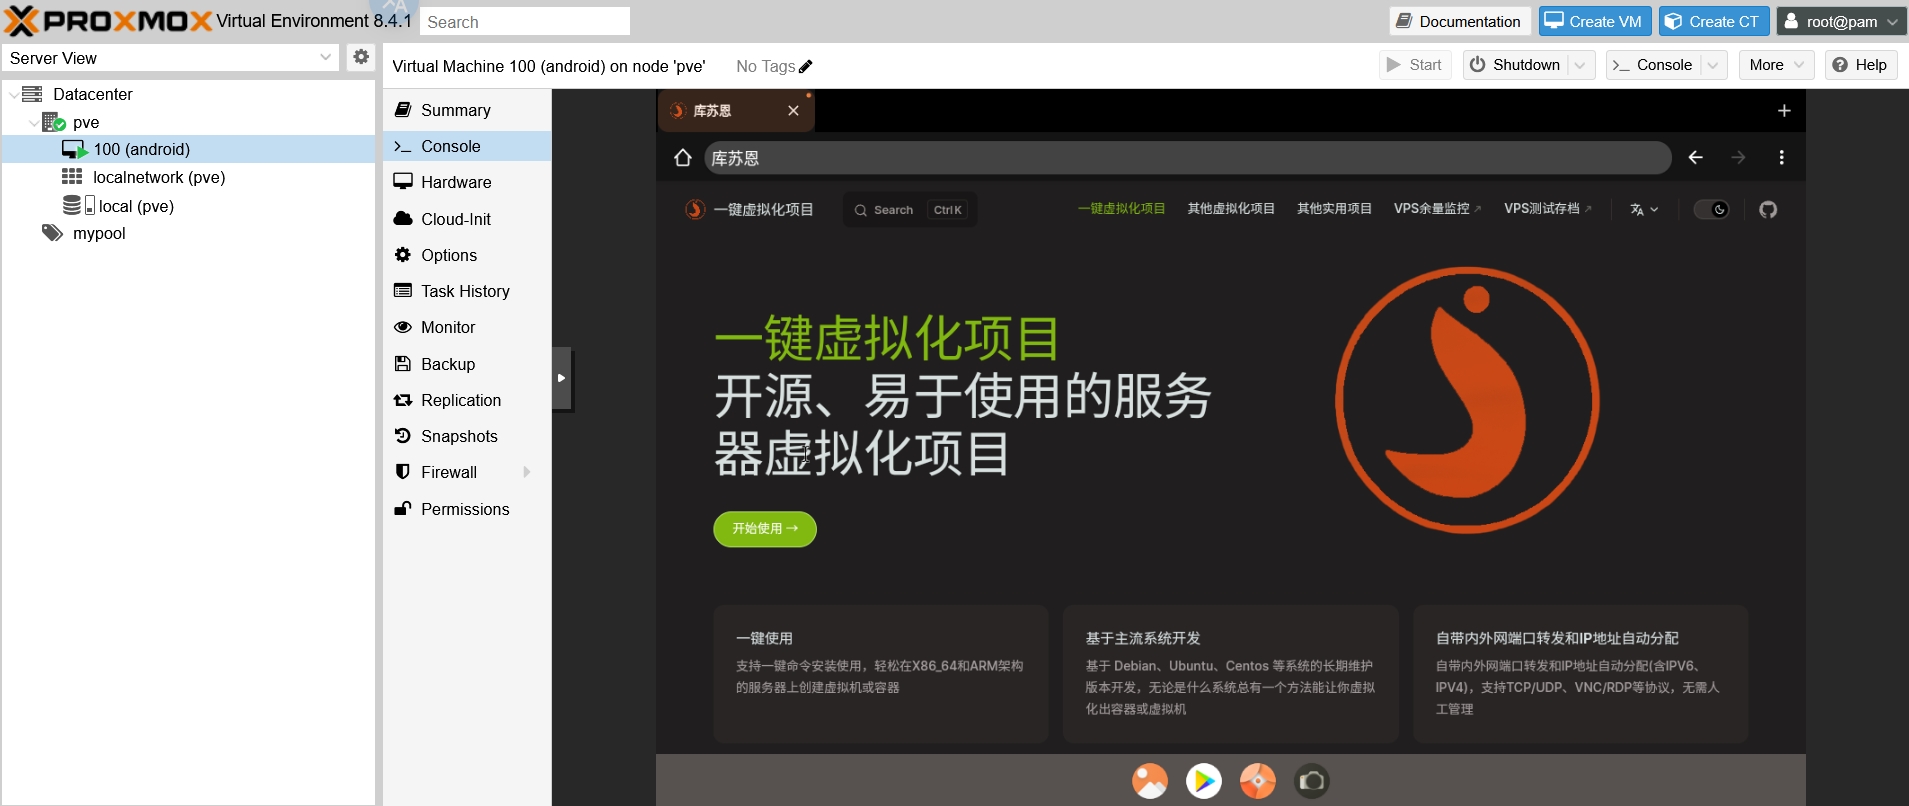
Then exit to the main interface, click on Google Chrome, and try to open a webpage

You can see that opening this guide's URL works without problems, proving that the network is connected

Setting up an Android Virtual Machine with version 10 and later images
This guide demonstrates using:
as an example
Template Configuration
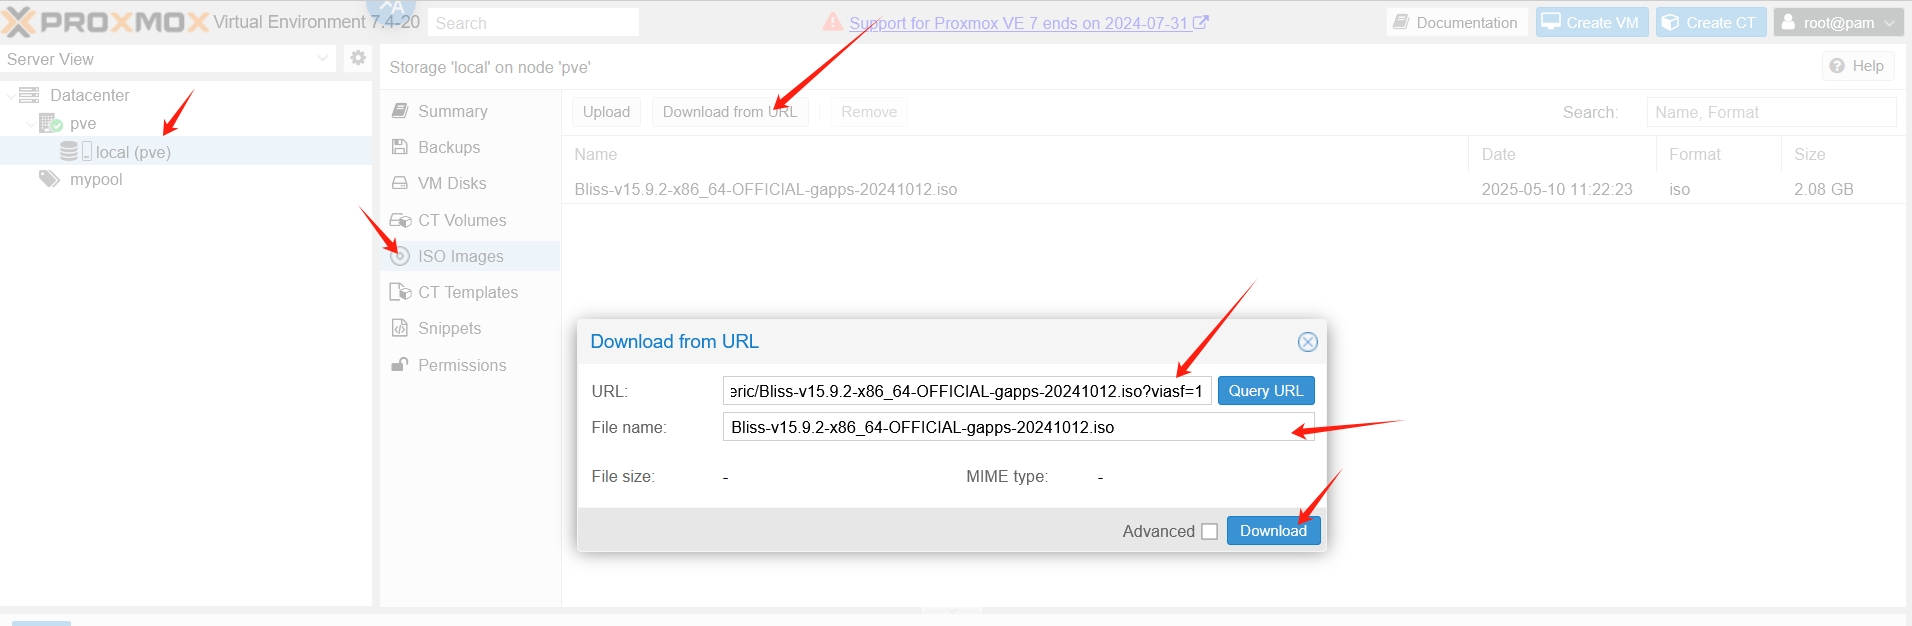
The host machine needs to execute the following command to install graphics environment dependencies
apt install libgl1 libegl1 -yThen start creating the virtual machine by clicking the Create VM button in the upper right corner. Fill in VMID, Name, Resource Pool

Select the Android image, then choose Linux for Type and an option with version 2.6 for Version

If the host machine has a GPU, select VirGL GPU for Graphic card.
If the host machine doesn't have a GPU, select VirtIO or Vmware compatible for Graphic card.
Select q35 for Machine, select OVMF (UEFI) for BIOS, and select local for EFI Storage.

Choose SATA for disk format. How much disk space to allocate is up to you, but at least 30GB is recommended
CPU count should be at least 2 cores
If your host machine supports nested virtualization, choose host for CPU type (verified to work)
If your host machine doesn't support nested virtualization, choose qemu64 for CPU type, and after creating the template, go to Options and uncheck KVM hardware virtualization before starting the virtual machine (no guarantee that system initialization will work properly)
Memory should be at least 4GB, enter at least 4096
Select vmbr1 for the network bridge, choose VirtIO (paravirtualized) for Model, and uncheck Firewall
After clicking the continue button, the template is successfully created. You need to manually start it and enter the VNC interface.
System Installation
After entering the boot menu, select the option ending with Installation

Then you need to create disk partitions. If you can't select it, press the keyboard button 'c' to select it.

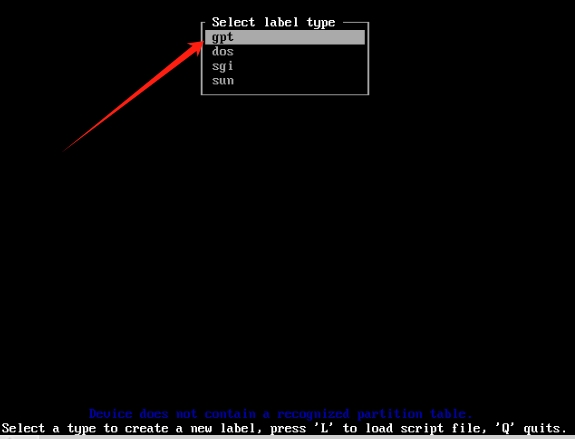
Choose not to use GPT format, continue using cfdisk format.

When the format selection box appears, select gpt.
When the empty disk is displayed, select New.

Because you need to create an EFI partition, you need to change the size rather than using the default. Change the number to 1 to allocate 1GB of disk space, then press Enter.

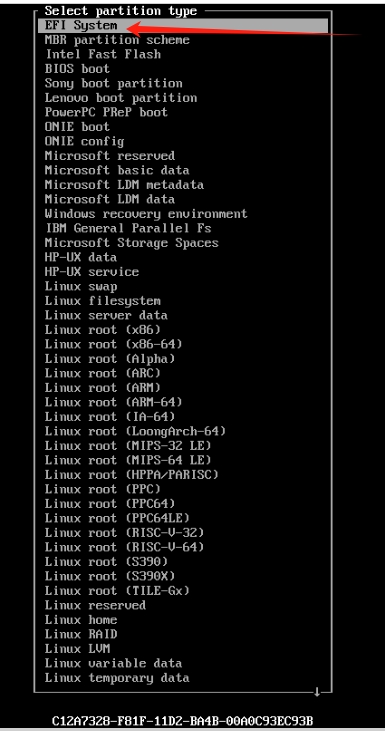
Then you'll return to the menu bar. Use the arrow keys to select Type, then press Enter to choose the format type for the partition

Use the arrow keys to select the first option EFI System, then press Enter
Now you're back at the menu bar. In the upper half of the page, you can see the specific partition size and format

Then press the down arrow key to select the next empty partition line

Select New from the menu bar, then press Enter

Here you need to fill in the partition size. Match it with the empty partition size shown in the upper right corner, then press Enter.

Return to the menu bar, select Write, press Enter to write the partition.
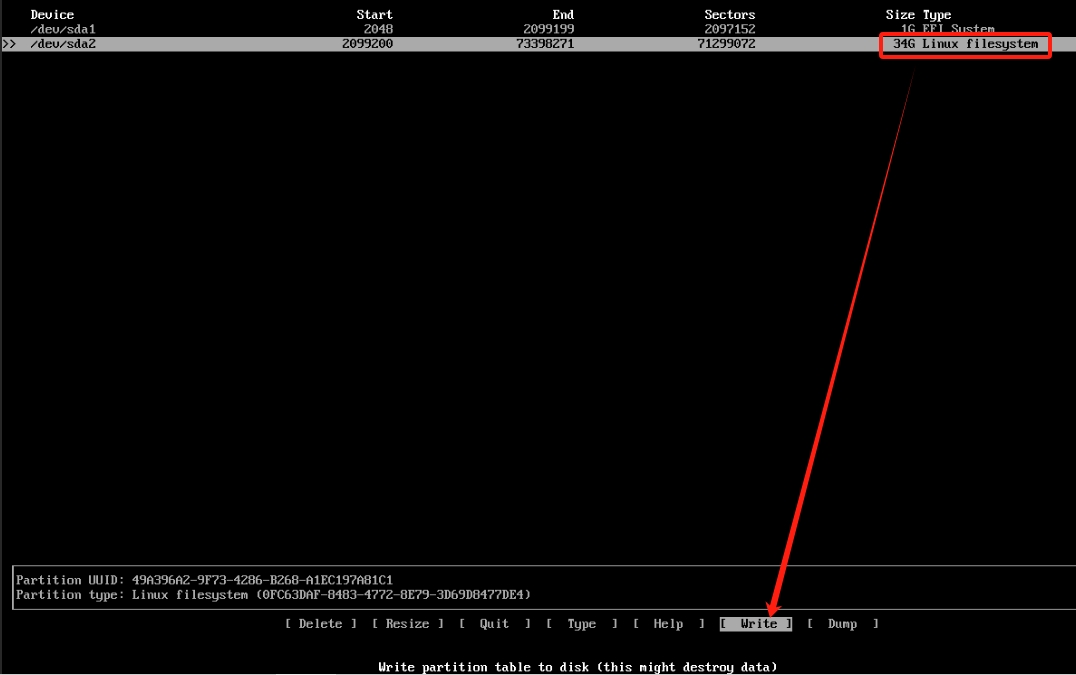
You'll be prompted to enter yes to confirm. Enter it and press Enter.

After a progress bar runs, you should return to the menu bar. Select Quit to exit the menu, everything is now ready

Then you'll return to the UI interface. Use the previously initialized 1GB disk and select the OK button

Use the arrow keys to select fat32 file system type, then select the OK button

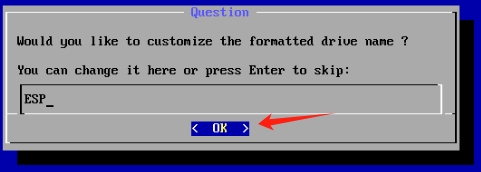
Confirm not to modify the name by selecting the OK button
Confirm formatting by selecting the Yes button

Then you'll return to the initial UI bar. Select the second partition that is not 1GB in size and select the OK button

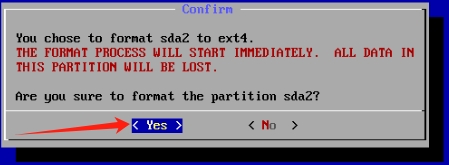
Use the arrow keys to select ext4 file system type, then select the OK button

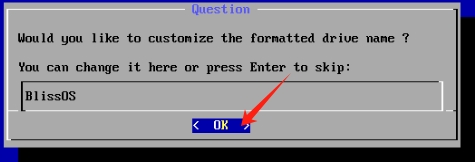
Confirm not to modify the name by selecting the OK button
Confirm formatting by selecting the Yes button
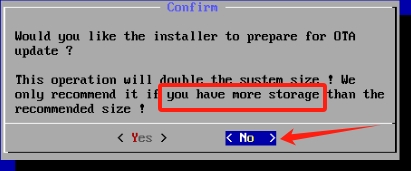
Choose not to use extra space for updates by selecting the No button
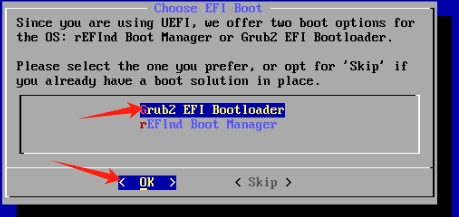
Confirm GRUB2 EFI BootLoader by selecting the OK button
After a progress bar runs for some time, it will show that installation was successful. Select Reboot and the OK button.

System Initialization
After a while, you'll enter the logo screen.
After some more time, you should enter the initial Android interface. You'll see a popup and the time. Hold the left mouse button and swipe up

The main screen application selection will appear. Select Quickstep
If this interface doesn't appear after waiting 3-5 minutes, restart the virtual machine, and it should display after entering VNC
Removing the Image
After the Android interface appears, execute qm stop 100 on the host machine, then start removing the image file.
Remove the installed ISO file by manually clicking on the corresponding CD in the Hardware section of the ProxmoxVE web interface and selecting Remove

Then execute qm start 100 on the host machine again, and you should enter the system's initial interface.
Network Settings
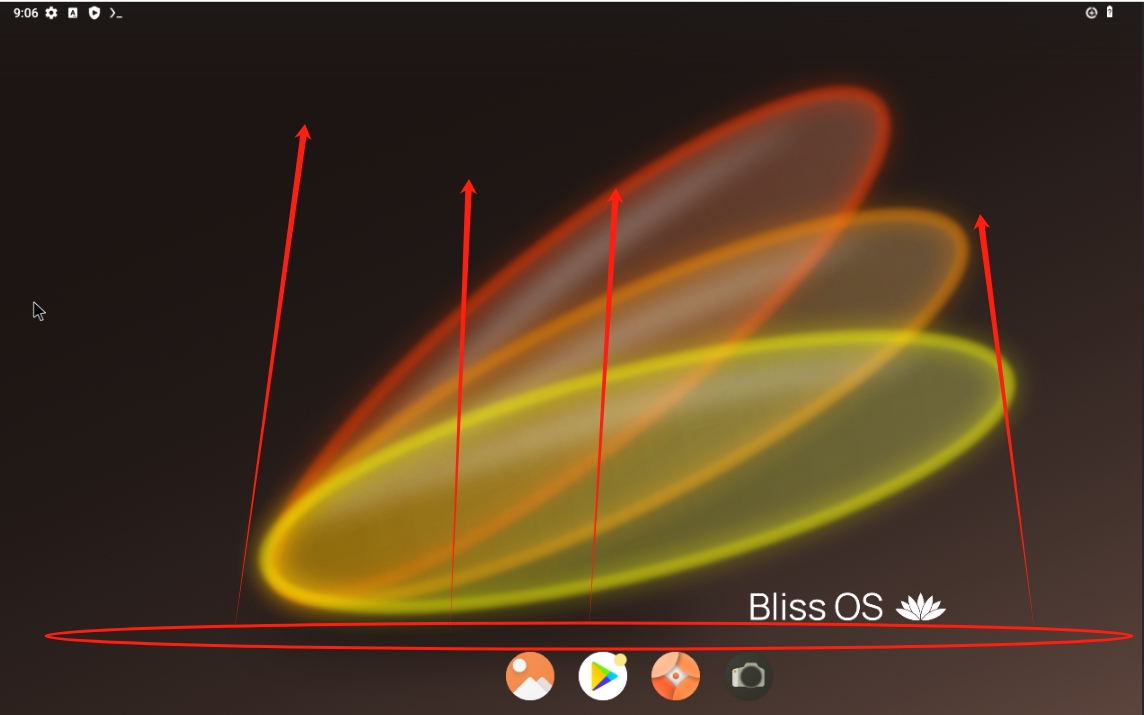
After entering the desktop, you need to set up the network. Hold the left mouse button in the indicated position and swipe up
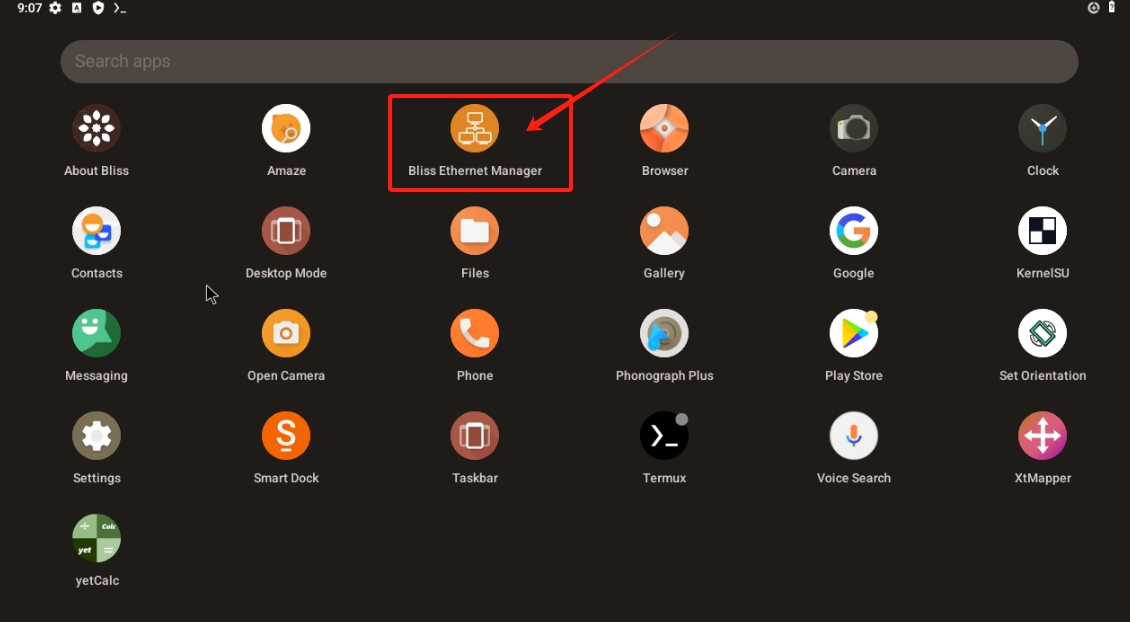
A bunch of applications will pop up. Find the one called Bliss Ethernet Manager and click to open it
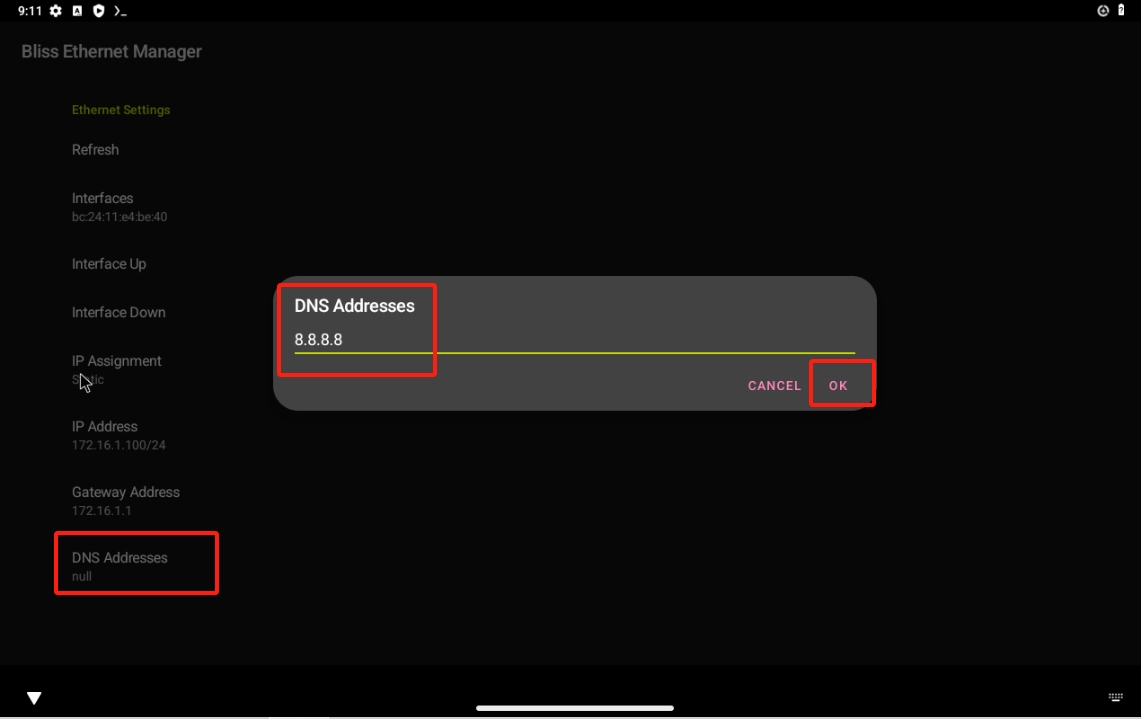
Click to open IP Assignment, select Static type, click the OK button to confirm

Click to open IP Address, enter 172.16.1.xxx/24 (I used 100 for xxx because my virtual machine VMID is 100 for easy identification), click the OK button to confirm

Click to open Gateway Address, enter 172.16.1.1, click the OK button to confirm

Click to open DNS Address, enter 8.8.8.8, click the OK button to confirm
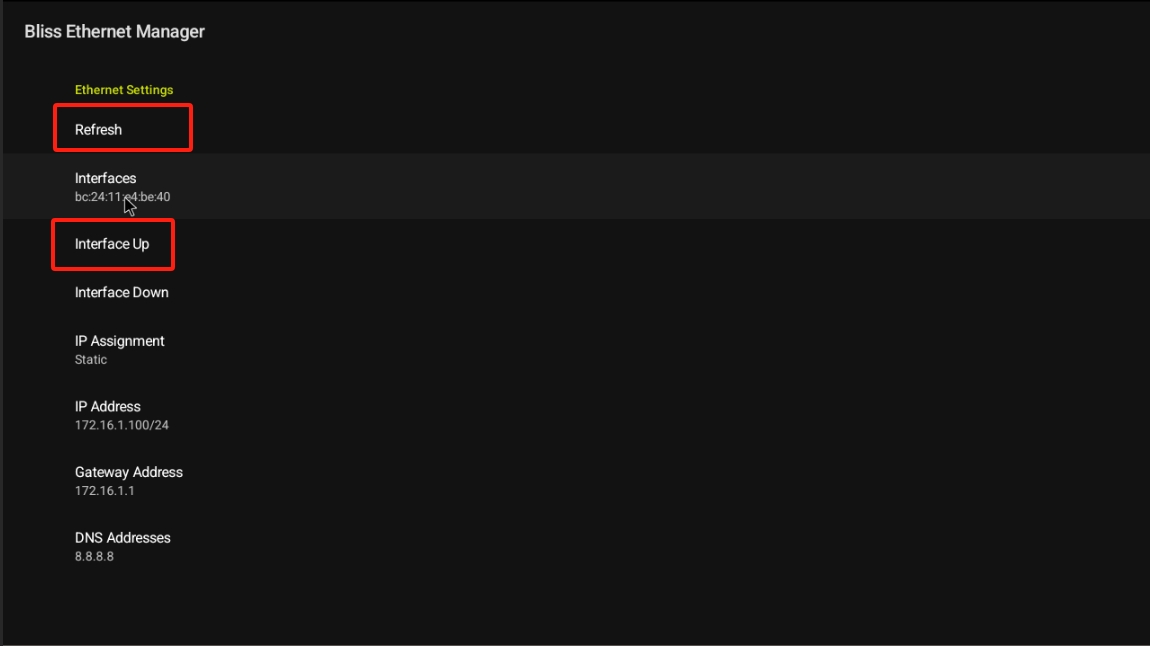
Then in the application interface, click Interface Up and Refresh, then press the exit key on the keyboard to exit the program
Open the browser in the main interface to verify that the network is working properly

You can see that opening this guide works without problems, the network is functioning